API Fortress has three unique advantages in the market – magic, the visual composer, and the built in assertions/operations. With that said, you are not bound to them exclusively. If you are more comfortable using code, that option is available as well.
Code View
First, the whole test can be seen and edited “naked,” without our
glamorous UI. Behind the curtains, the test is described using the XML markup language.
To use it, you simply need to look at the top right of the composer. The default is VISUAL COMPOSER, but right next to it is CODE VIEW. Click that.
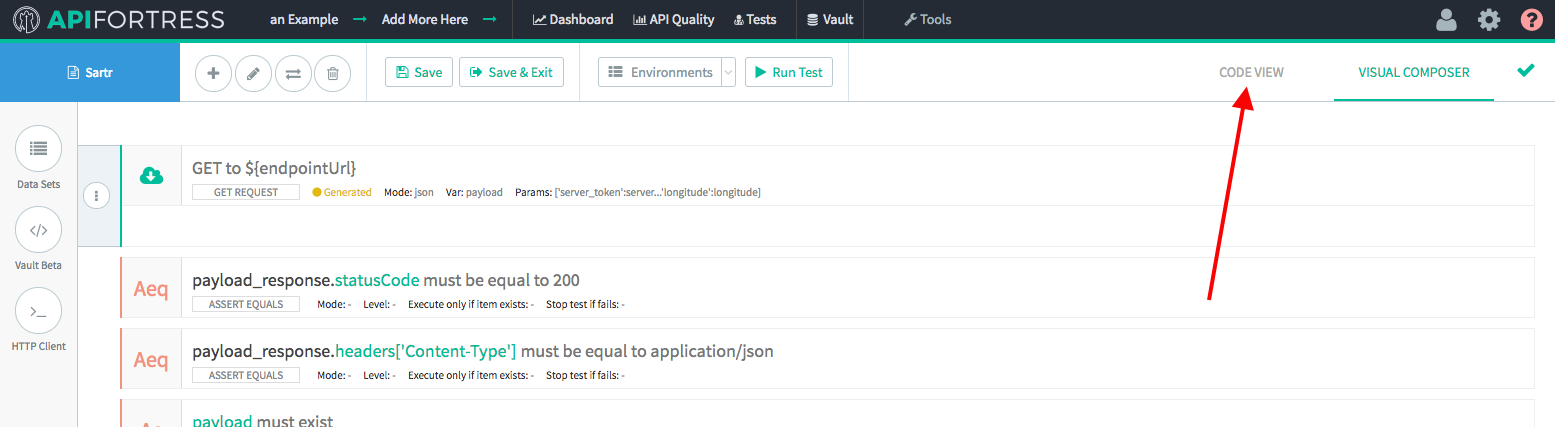
Now you will see the markup language that is the basis of API Fortress.
 More experienced testers may find this to be the most efficient manner to use the platform.
Tip: The best way to learn the markup? Build your tests using the visual composer/magic, then switch to code view and have a look!
More experienced testers may find this to be the most efficient manner to use the platform.
Tip: The best way to learn the markup? Build your tests using the visual composer/magic, then switch to code view and have a look!
A Groovier Approach
Whether you are using the code view, or the visual composer, one important aspect to note is that all “evaluated” fields are actually able to execute a subset of Groovy commands.
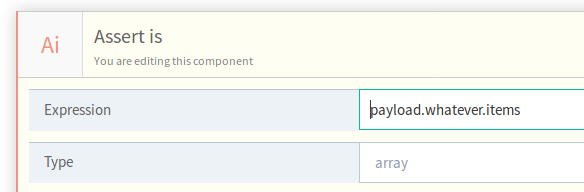
For example, let’s take this assertion that verifies whether the “items” element is an array.
 Or in code view:
<assert-is expression="payload.whatever.items" type="array"/>
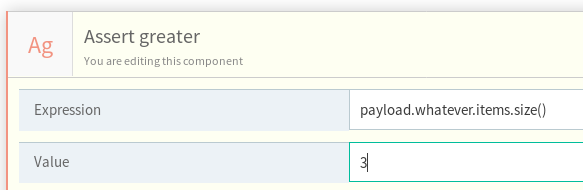
Now let’s say you know something more about this array, such as it should always contain more than 3 elements:
Or in code view
<assert-greater expression="payload.whatever.items.size()" value="3" type="integer"/>
Notice how in the
expression field we deliberately used the
size() command to retrieve the size of the object at its left.
Even More Serious Grooviness
Moreover, Groovy can be put within SET components.
The first scenario is when you want to set a variable that is not a String. The best way to do it is using the Variable Mode “Object.” The value, in this case, will be evaluated as Groovy code.
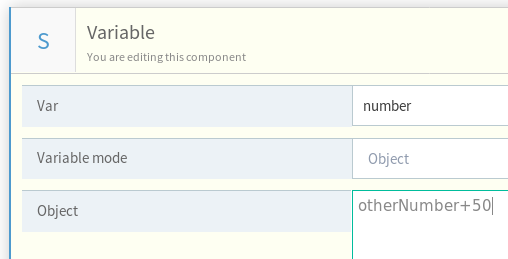
<set var="number" object="otherNumber+50"/>
Here we are assuming that otherObject is a predefined numeric variable. When the SET is executed, the
number variable will be an integer.
The second scenario is when you want to write extensive logic.
Choose the SET component, then choose the item “Language” in the type drop-down (when using Visual Composer), or enter lang=”java” when writing it in Code View.
 Or in code view:
<set var="myVar" lang="java">
<![CDATA[
def item = payload.whatever.items.find { it -> it.id==11 }
return item.amount
]]>
</set>
Templating
What about all the fields that are not explicitly evaluated? Like
URL,
value, or
POST Body? Or the content of a comment? It is often extremely useful to evaluate content on those as well. This is possible using the template syntax.
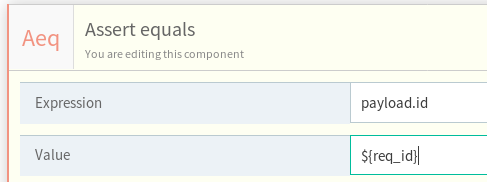
<assert-equals expression="payload.id" value="${req_id}"/>
This assertion, for example, is evaluating the
req_id variable right within the value.
A Little Bit of Everything
Let’s join everything we’ve learned into one snippet:
<set var="data" lang="java">
<![CDATA[
def items = payoad.whatever.items.find{ it-> it.id>100}
return items.collect{ it -> it.providerId}
]]>
</set>
<each expression="data">
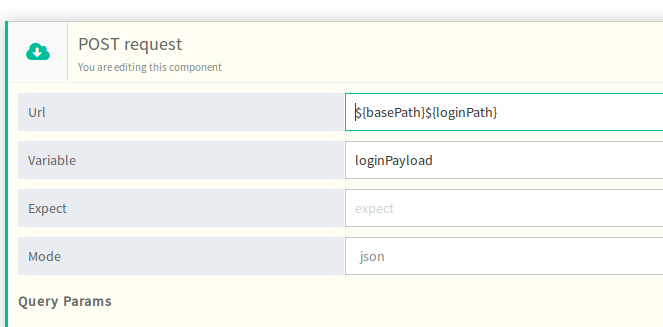
<post url="http://www.example.com/${counter+1}" params="[:]" var="payload2" mode="json">
<postBody contentType="application/json">
<![CDATA[{"providerId":${_1}}]]>
</postBody>
</post>
<set var="counter" object="counter+1"/>
</each>
Want to learn more about Groovy?
Follow this link to the official documentation:
http://groovy-lang.org/documentation.html
Important Note
For security concerns, the cloud version of API Fortress is sandboxed. Meaning many programming language features are disabled. Self-hosted/on-premises eliminates that restraint. While on cloud, if you think a specific feature should be safe to be enabled but is disabled, please contact us and we’ll do our best to help you!

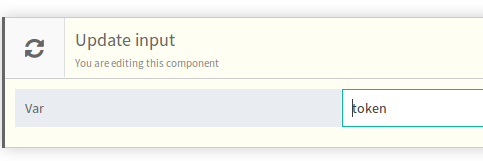
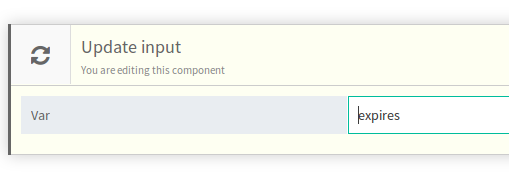
 Usually, the component is used in conjunction with the set variable component. First, we set a variable. Then, we make it available outside of the current test with the update input component.
We pass the update input component the name of the variable that we need to persist outside of the test. The component will first try to update a variable of the same name in the current input set. If that doesn’t exist, it will search for a global variable of the same name. If there is no global variable of the same name, it will check the vault. If the variable doesn’t exist there, it will create one with the same name.
Important note: the update input component works only outside of the composer. That is to say, it will only function when a test is executed from the Test List, the Scheduler, or via the API.
Usually, the component is used in conjunction with the set variable component. First, we set a variable. Then, we make it available outside of the current test with the update input component.
We pass the update input component the name of the variable that we need to persist outside of the test. The component will first try to update a variable of the same name in the current input set. If that doesn’t exist, it will search for a global variable of the same name. If there is no global variable of the same name, it will check the vault. If the variable doesn’t exist there, it will create one with the same name.
Important note: the update input component works only outside of the composer. That is to say, it will only function when a test is executed from the Test List, the Scheduler, or via the API.
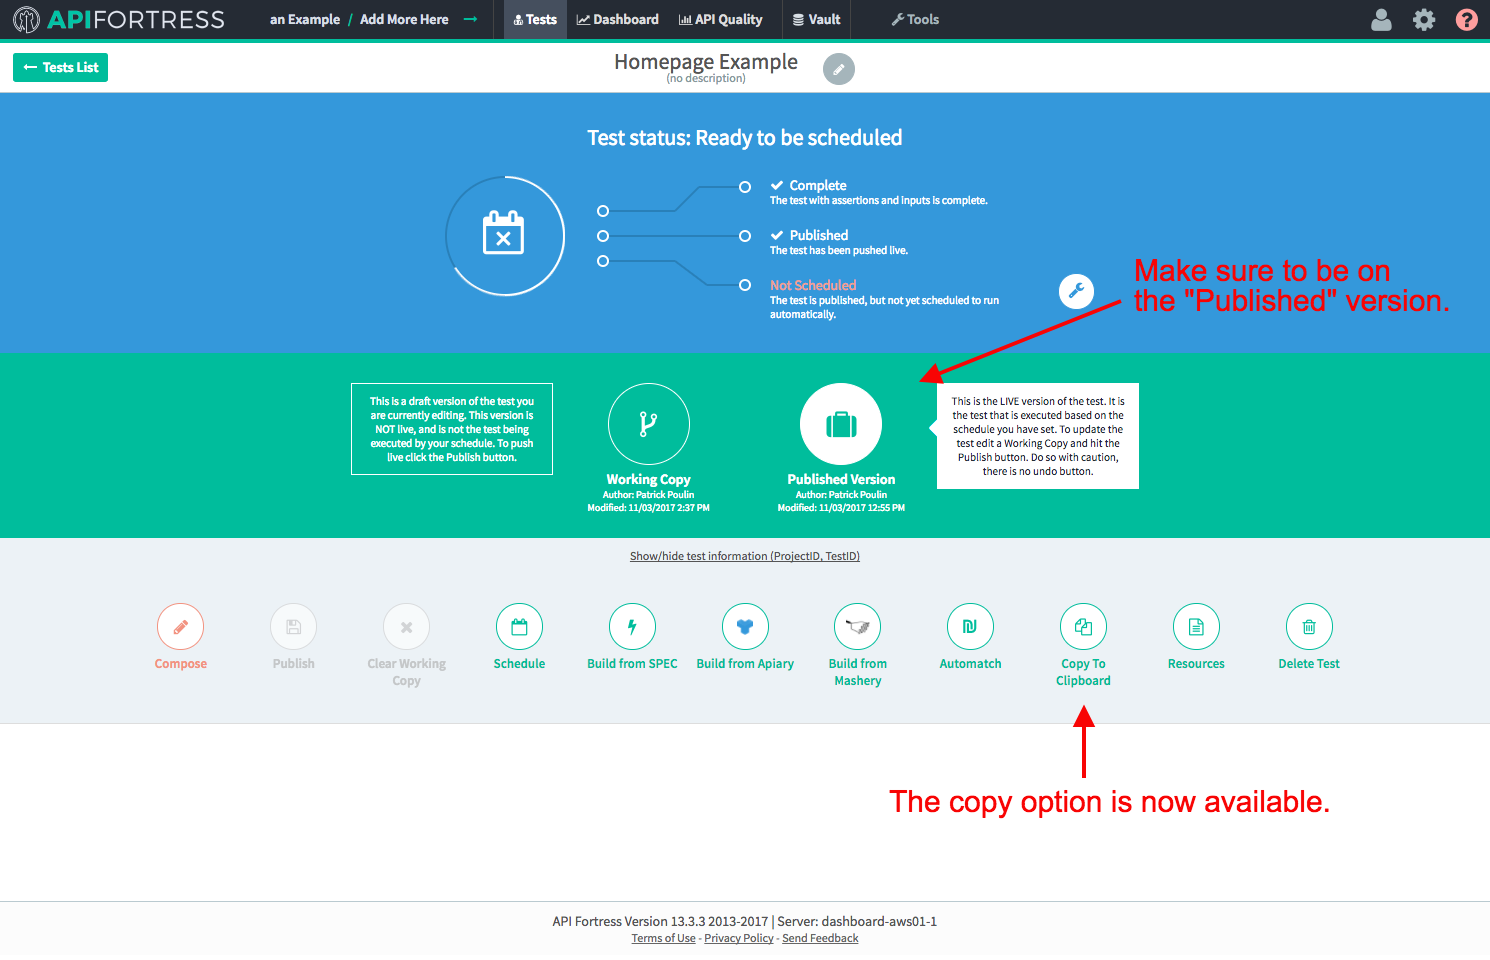
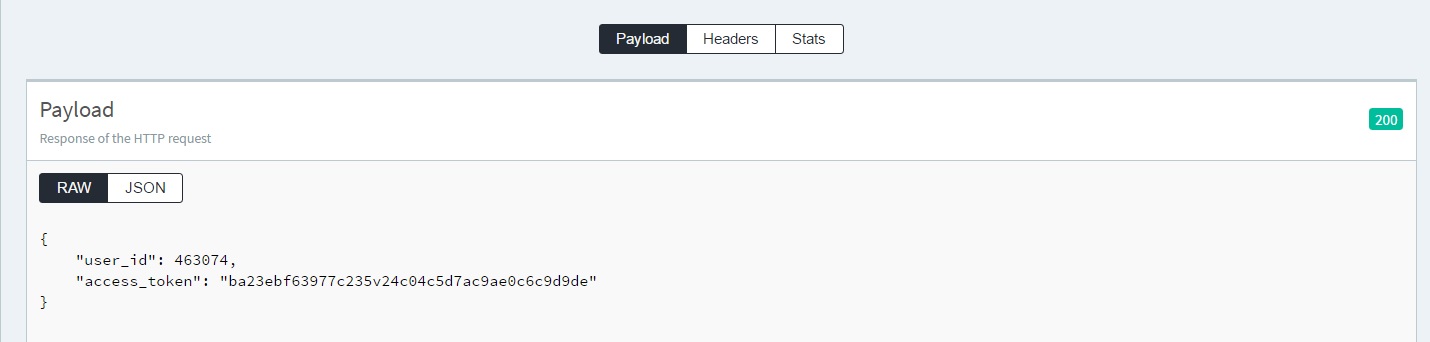
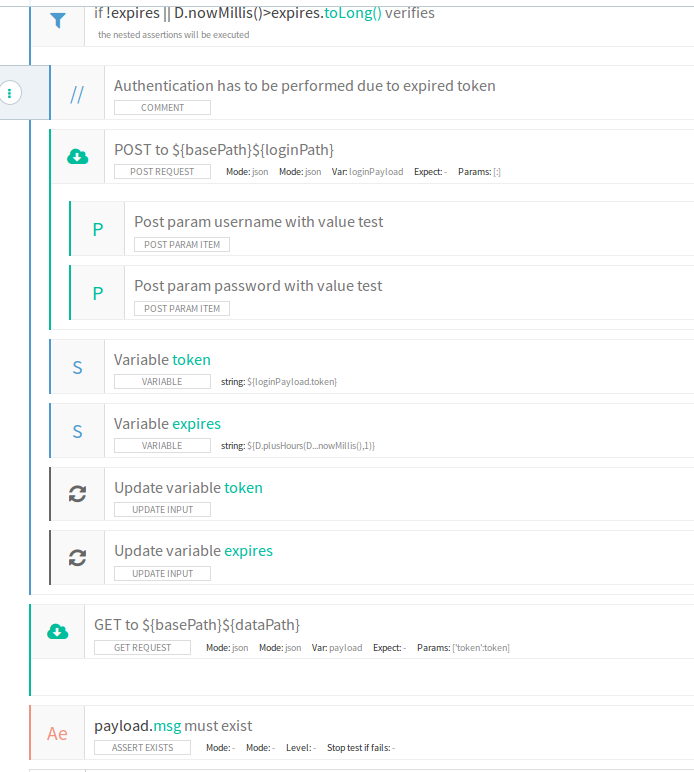
 In the image above, after calling the login endpoint, we have created a variable called access_token with the set var component. Then, we have updated the value with the update input component. In doing so, the value of the variable will persist throughout and the value can be used in follow-on tests.
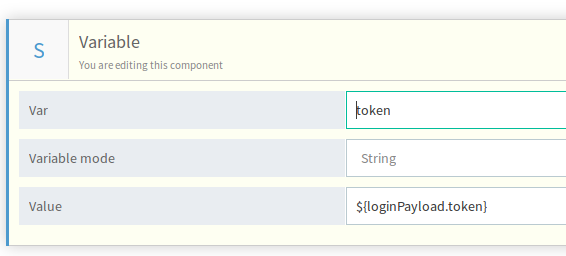
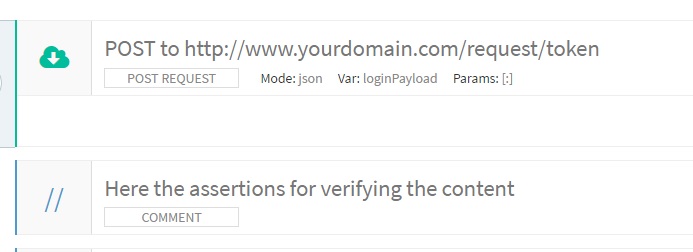 Under the login procedure add an assertion named “Set (variable).” Set Var as “access_token,” keep Variable Mode as String, and set Value to “${loginPayload.access_token}” You’ll notice that what we are doing here is specifically taking the access_token variable in the loginPayload response, and setting it as “access_token.”
Note: The dollar sign and bracket are necessary when referencing variables.
Under the login procedure add an assertion named “Set (variable).” Set Var as “access_token,” keep Variable Mode as String, and set Value to “${loginPayload.access_token}” You’ll notice that what we are doing here is specifically taking the access_token variable in the loginPayload response, and setting it as “access_token.”
Note: The dollar sign and bracket are necessary when referencing variables.
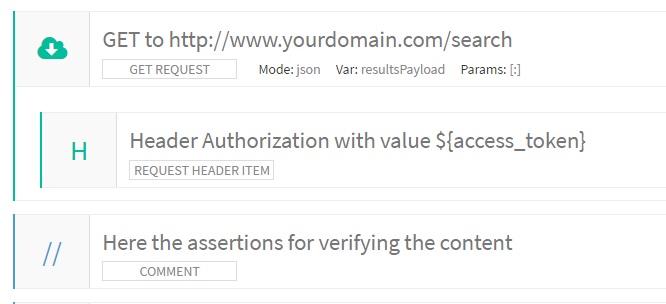
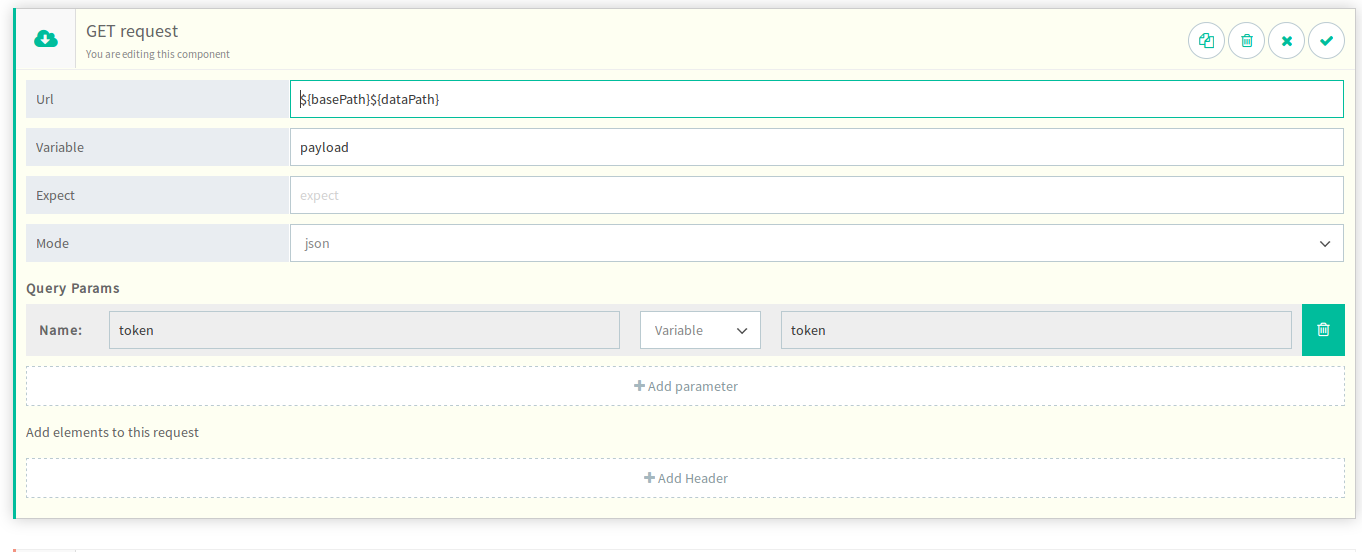
 Next, make a GET call to your search endpoint. Name this payload “resultsPayload.” This call requires the access token from the login procedure, so we passed it in the header as required for this specific API. We added Header Name as “Authorization” and Value as “${access_token}.” Again, notice the dollar sign and bracket. That is how you reference variables.
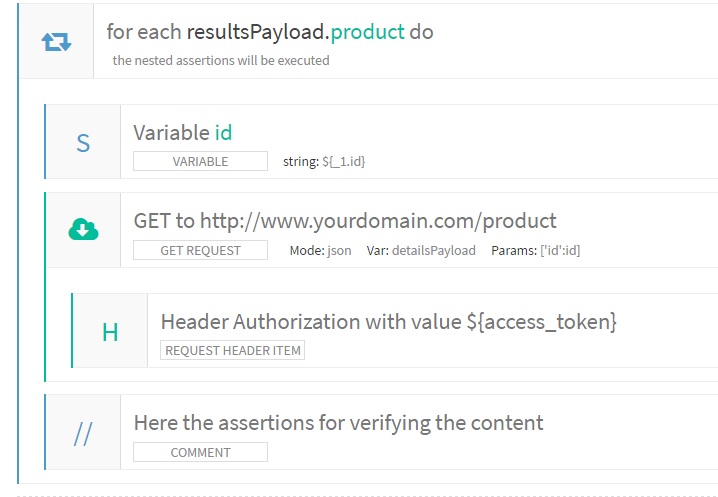
 Finally, let’s dive into each result from the search payload one-by-one, using the “product id” and the “access token” variables we have set so far.


 Code View
The whole operation might seem a bit annoying to replicate in every test, but the code view and some copy and paste can ease the pain.
Note:
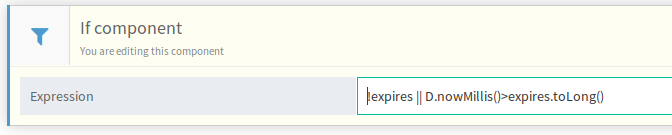
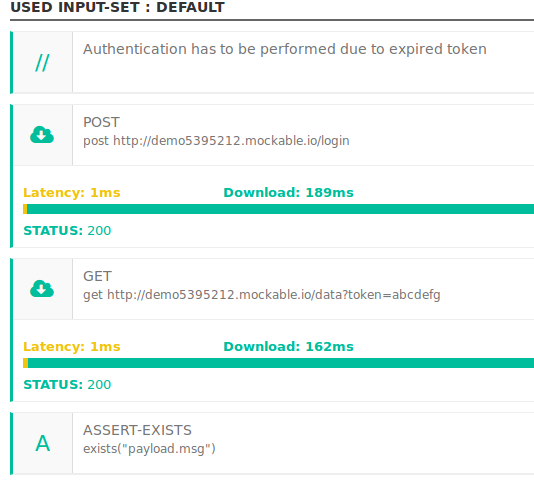
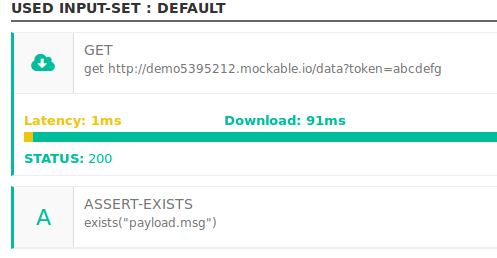
Keep in mind this is just an example, and the calls are meant to be very simple The following is the code version of the IF branch containing the authentication logic.
Code View
The whole operation might seem a bit annoying to replicate in every test, but the code view and some copy and paste can ease the pain.
Note:
Keep in mind this is just an example, and the calls are meant to be very simple The following is the code version of the IF branch containing the authentication logic.