The pipeline script below serves as a template for creating a stage in your Bitbucket Pipeline for testing your APIs with API Fortress. If you’d like to take a look at the documentation for APIF-Auto, click here.
It’s important to note that this is an example of a Bitbucket Pipeline. Experienced users are free to configure their workflow as best suits their needs.
image: python:3.7.3

pipelines:
  default:
    - step:
        caches:
          - pip
        script: # Modify the commands below to build your repository.
          - pip install -r apif-auto-master/requirements.txt
          - python apif-auto-master/apif-run.py run-all security -S -f junit -o test-results/junit.xml
First it’s worth mentioning that in this example we have the APIF-Auto files in our Bitbucket repository. Let’s break down what’s happening in the script above:
- First, we are defining the Docker image for python. We will need this to execute the APIF-Auto python scripts.
- Next, we are setting up the Bitbucket pipeline steps. We are cacheing “pip” so we don’t need to load it every build.
- In the “script” section we can see a couple of commands being executed:
- First is the installing the “requirements.txt” using pip, this will install all the packages defined in the file that are needed to run APIF-Auto.
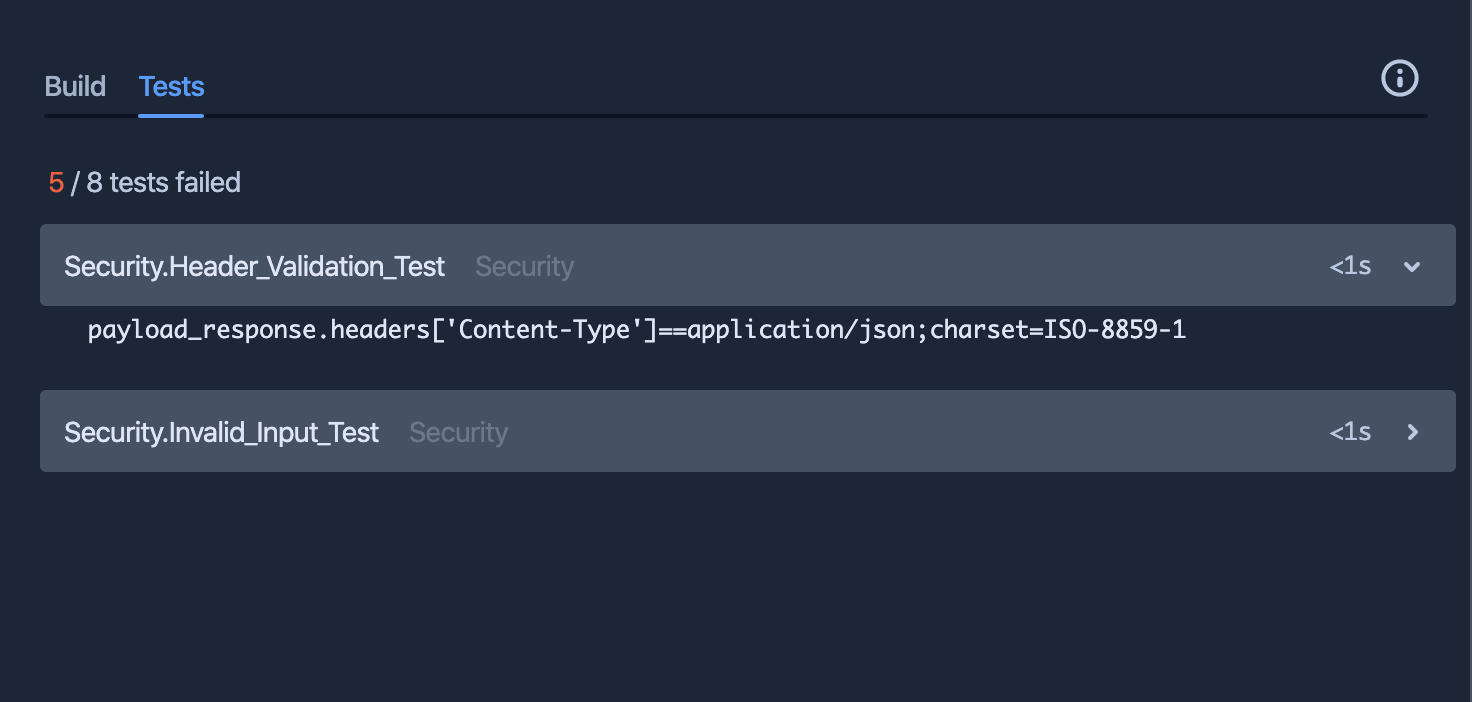
- Next we are executing the APIF-Auto tool for running tests. In this example we are executing all tests within the project “security” and outputting the results in JUnit to a folder in the repository named “test-results”, this is one of the acceptable folder names that Bitbucket will automatically parse for test reports.
- It is worth mentioning that Bitbucket will automatically parse the “.xml” to display the results in your pipeline.

