Alert Thresholds (Using JSON Connector)

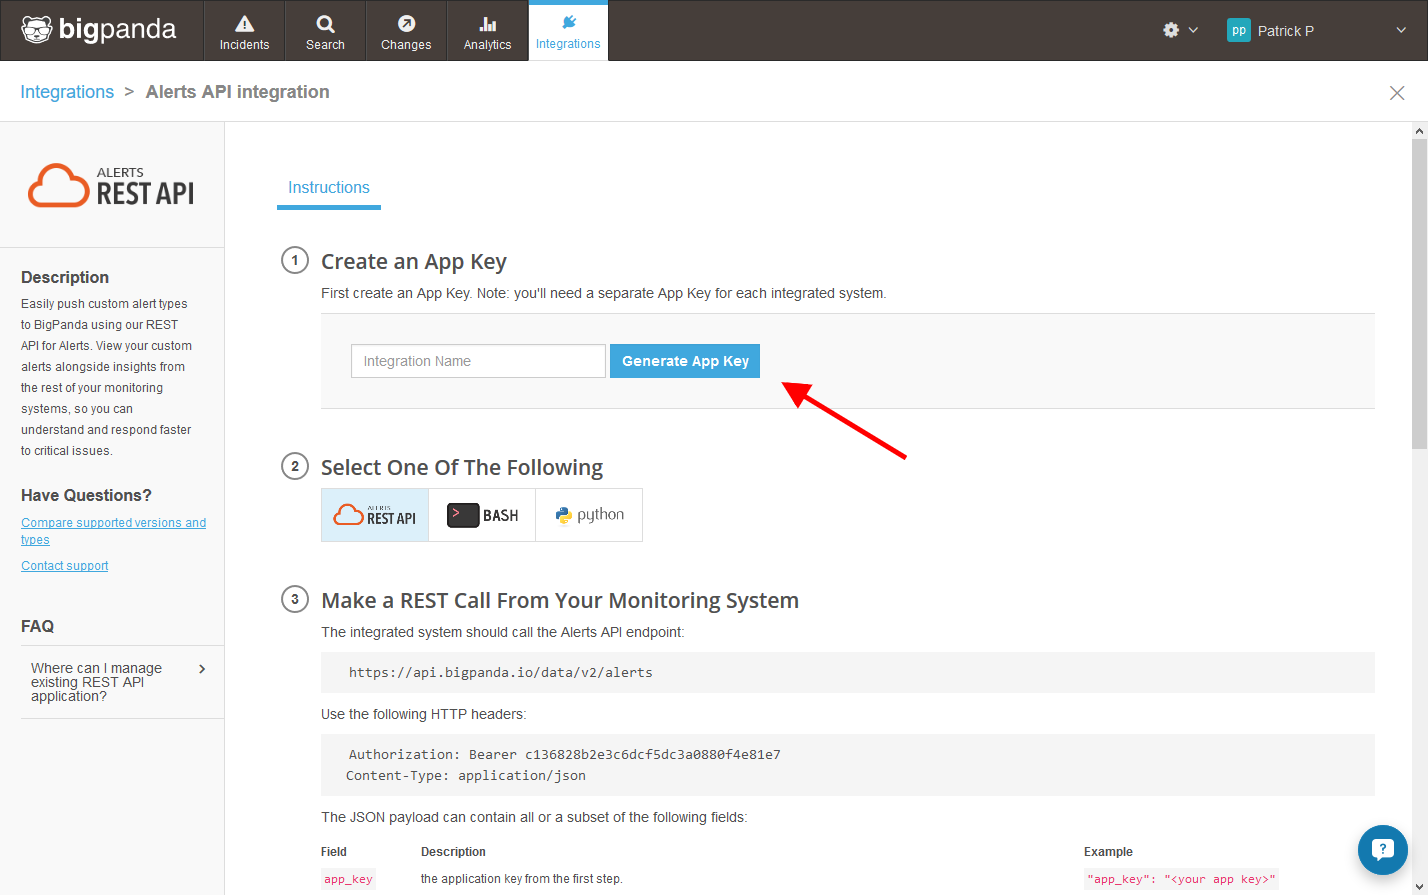
The JSON Alert Connector sends information about a failure in JSON format and posts it to a given WebHook URL. The JSON connector with the threshold variation does the same thing with a twist – rather than posting every event, it does so when the error rate exceeds a certain threshold. The connector has been designed to be used with services like Zapier or IFTTT. It can also work with other similar services, but those are two of the most popular ones.

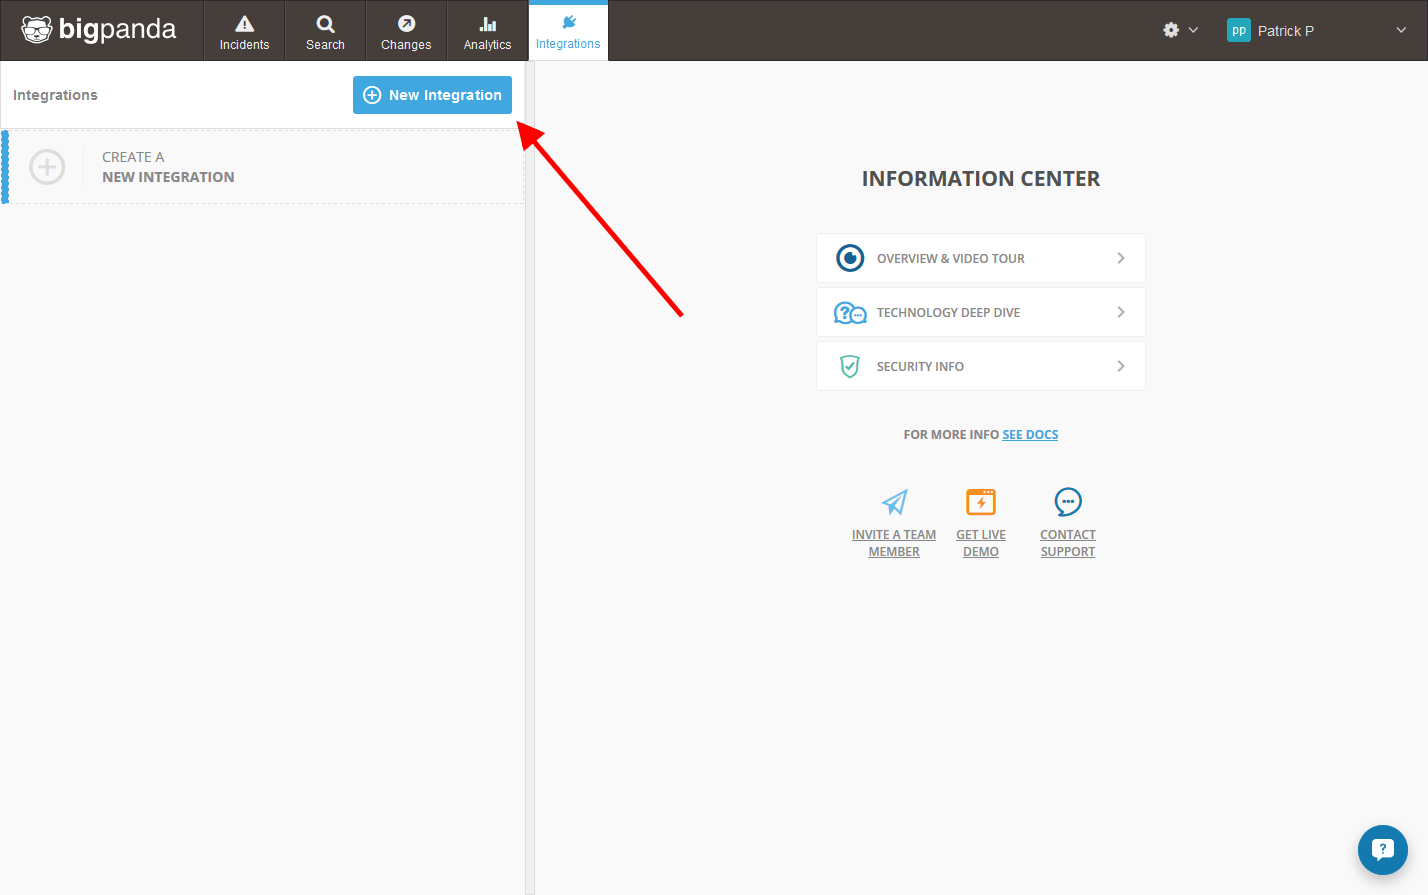
Configure the Connector

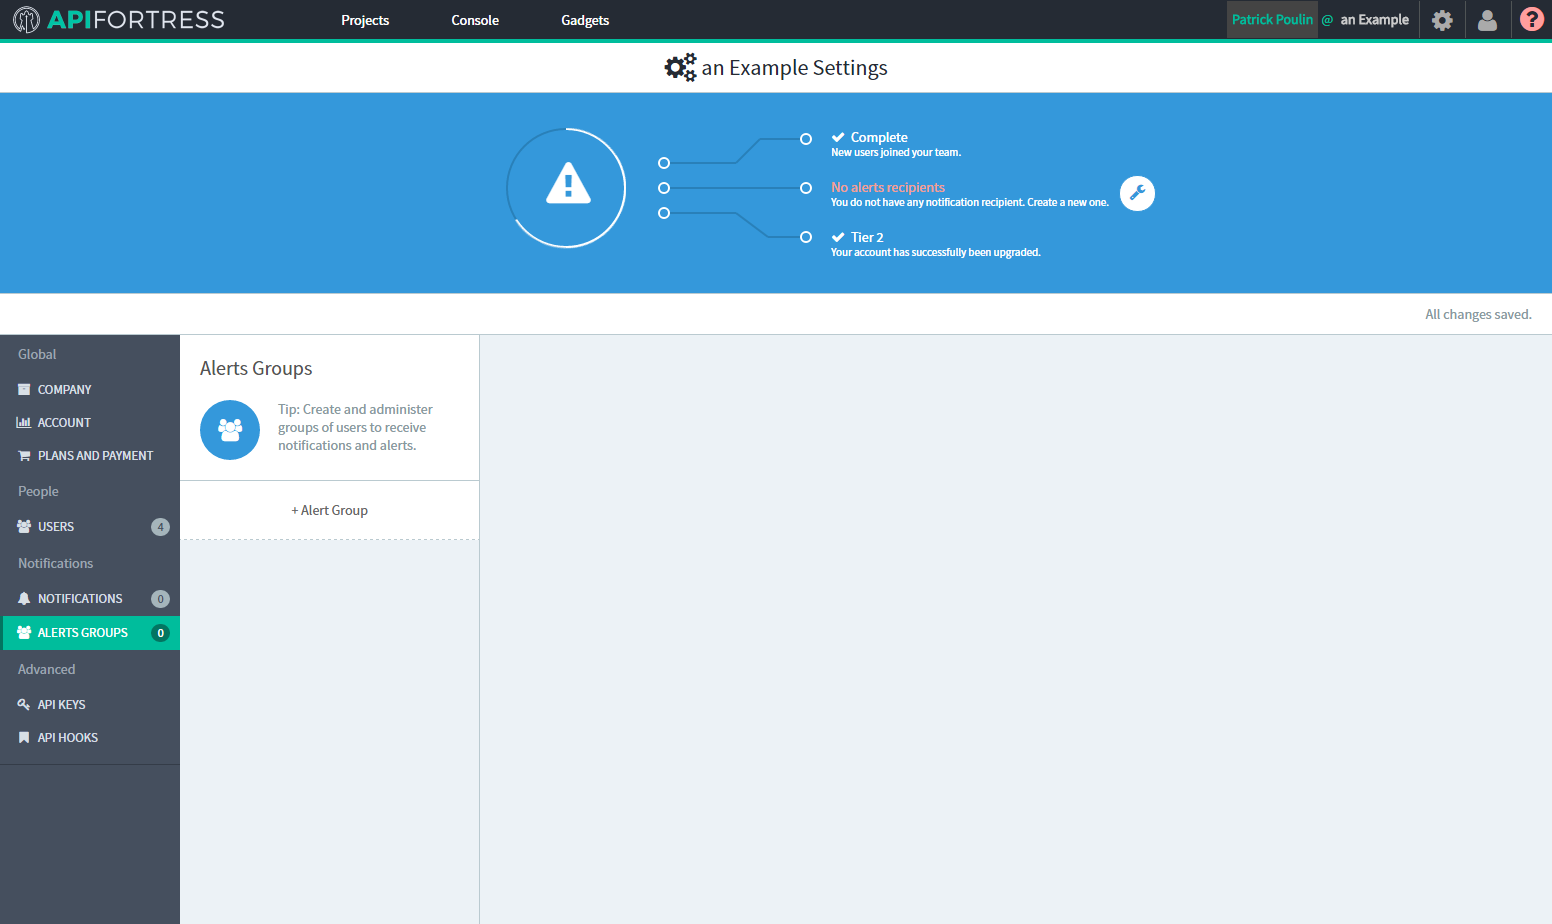
  1. Access the company dashboard by clicking the gear icon in the top right corner
  2. Select “Alert groups”
  3. Create a new alert group if you don’t have already one for this purpose
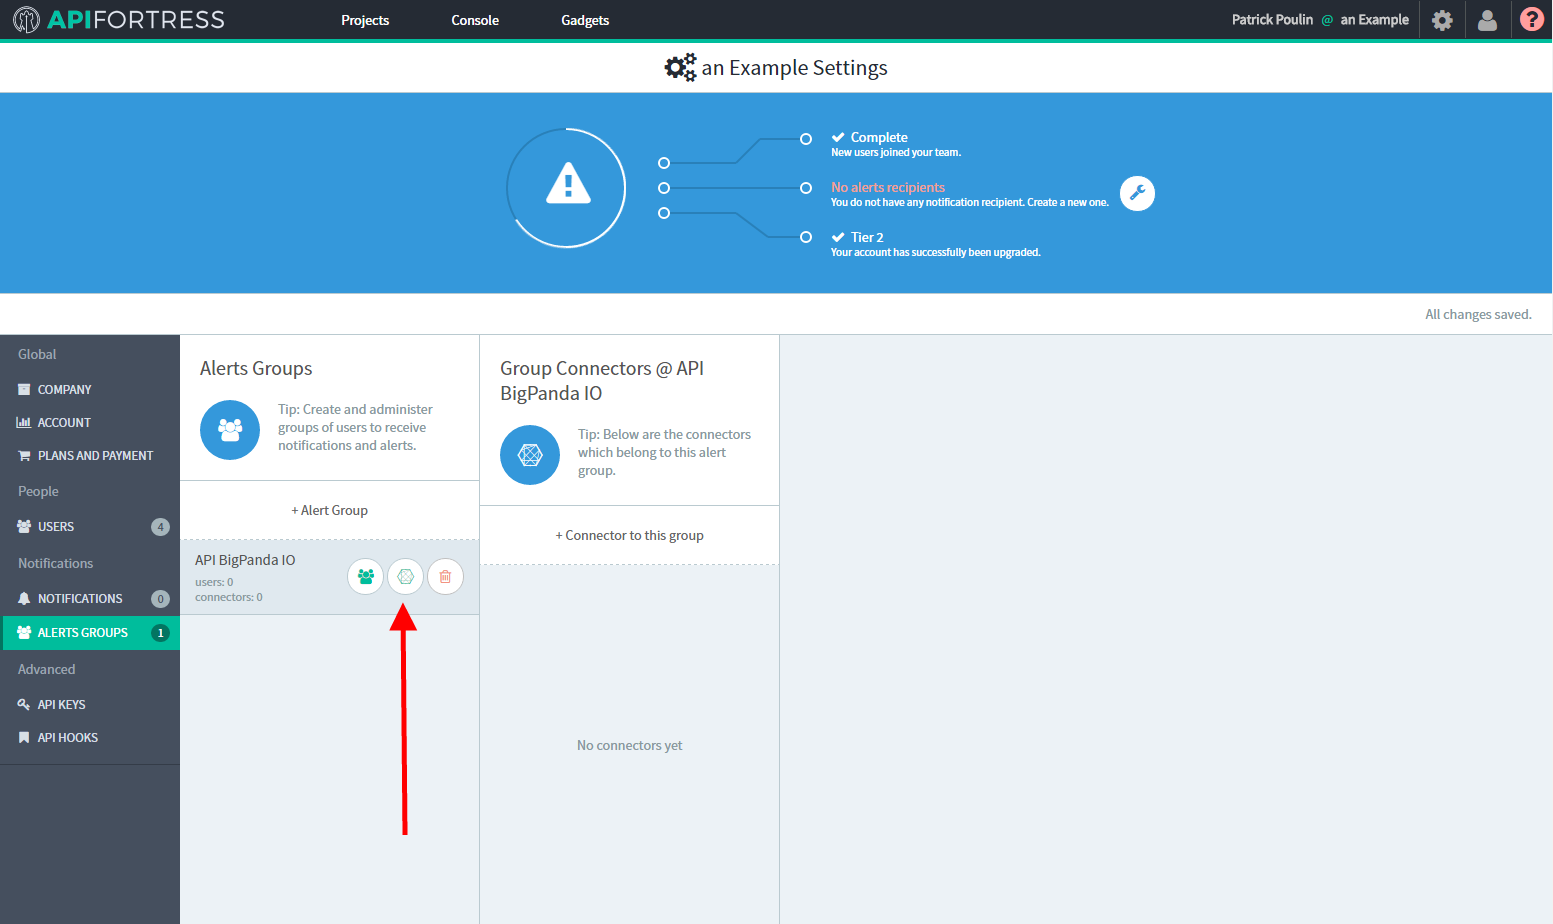
  4. Select the socket icon
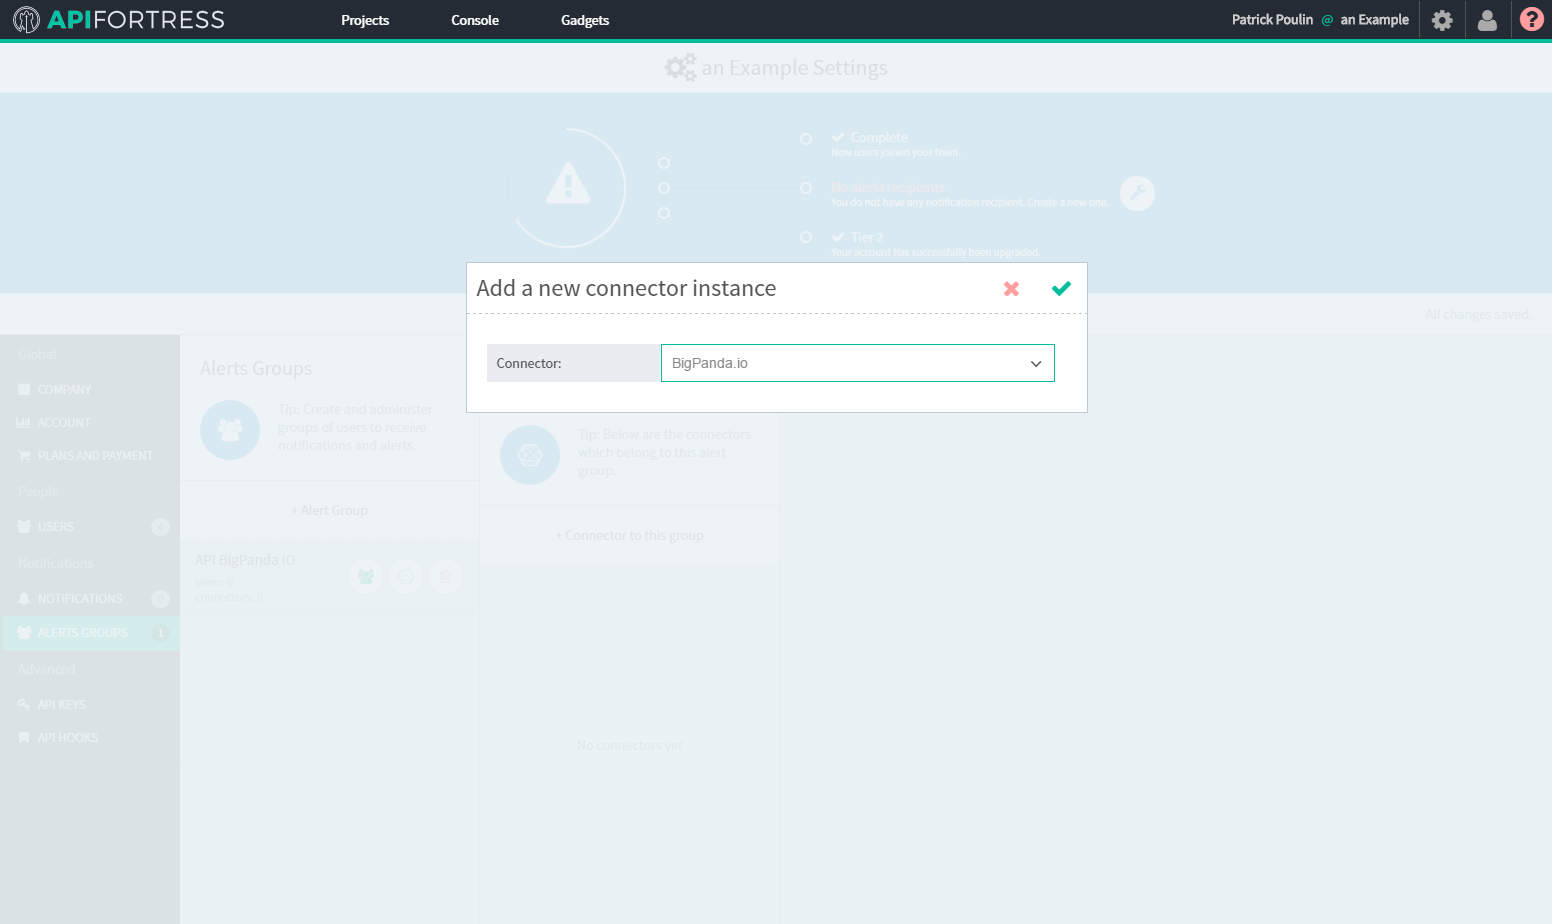
  5. Select “+ Connector to this group”
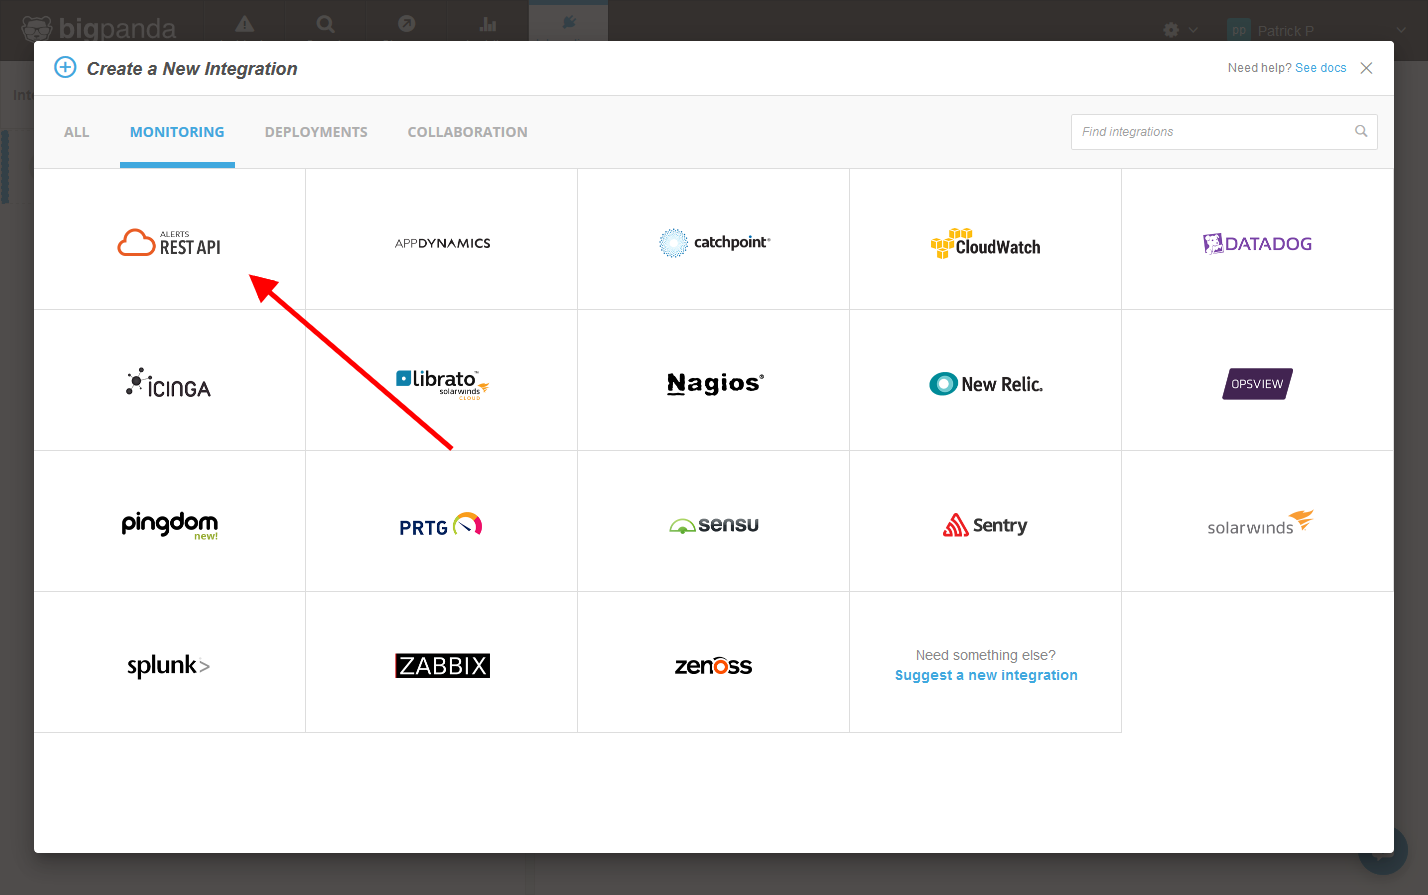
  6. Select “JSON Alert /w threshold” from the list
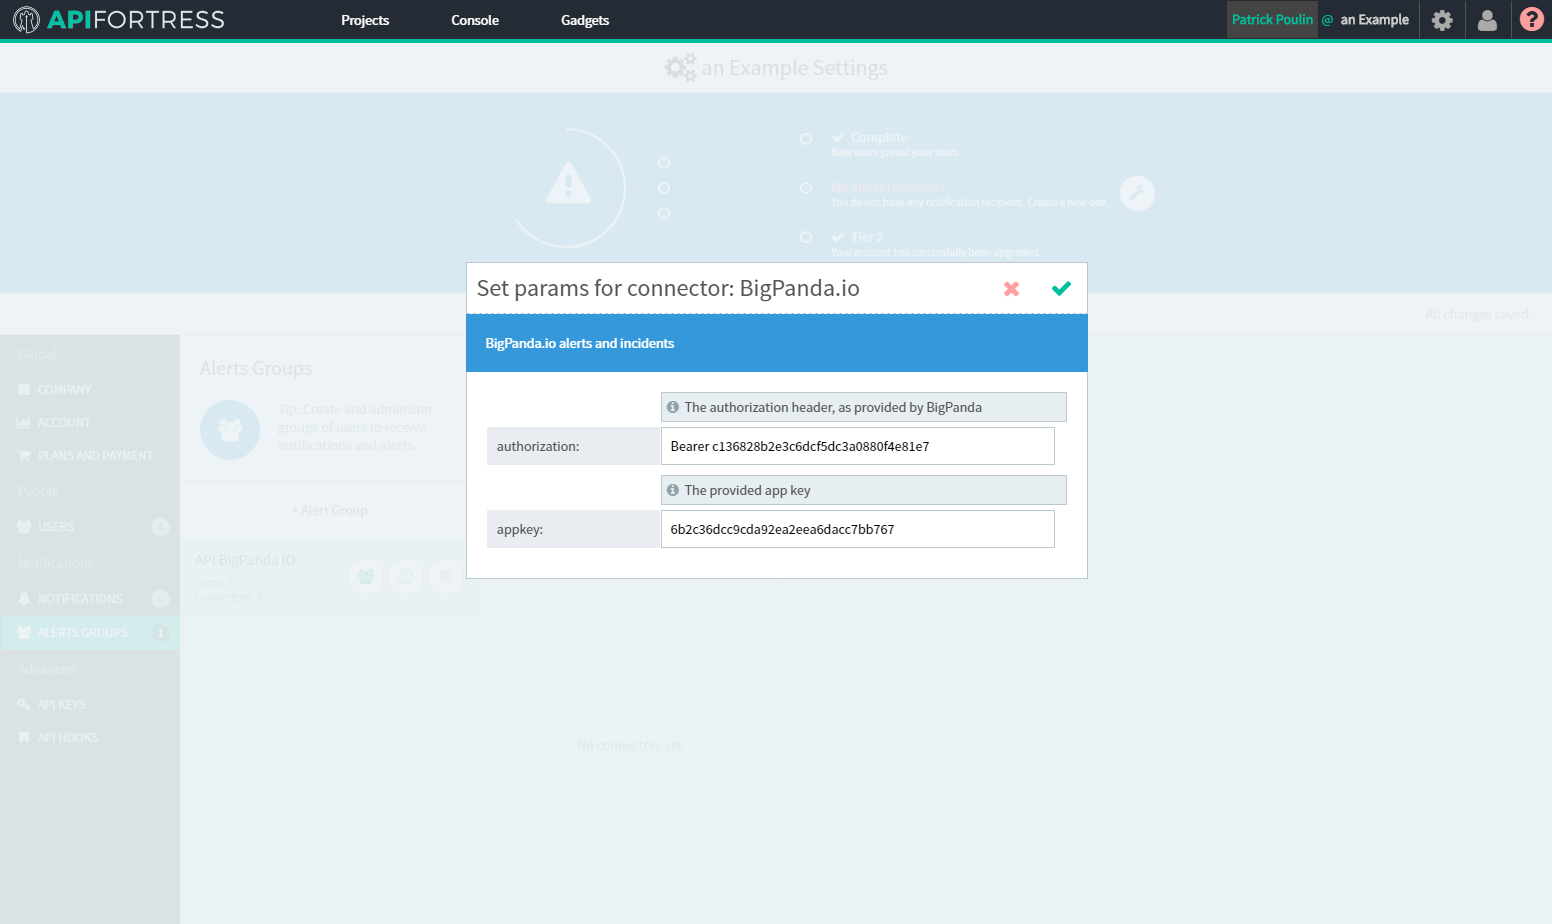
  7. Enter the required settings
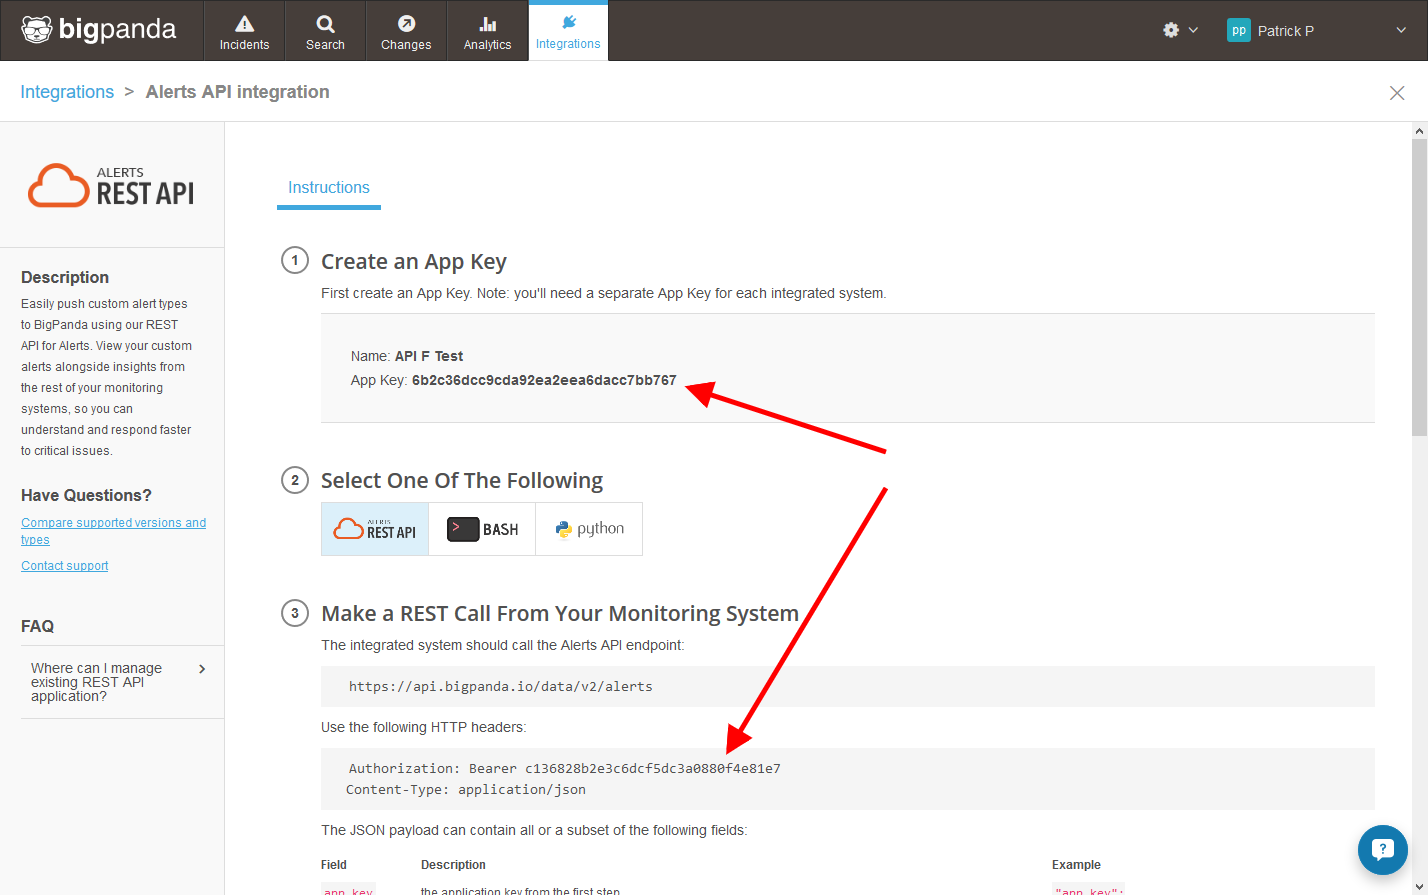
    1. URL:  The URL of the WebHook the alert should be sent to.
    2. Counter: The number of errors per specific test in a period before the alert is actually sent out.
    3. TTL: The time frame, expressed in seconds. (Ex. 3 errors over a TTL of 600sec [10 min])
  8. Save
  9. From the main dashboard, edit the “Settings” the project(s) you want to assign the alert group to if the group has not been assigned yet

Behavior

The connector will collect errors for each specific test. When the first error occurs, the timer expressed by the TTL starts.  When the error reaches the counter number, the alert is sent and the timer resets. The JSON sent will look like the following:
{
    "date": "2017-12-29T14:36:31+0000",
    "eventId": "5a4aa0a1-d071-4a05-981d-ff57e4ff3897",
    "test": {
        "name": "book",
        "id": "123a"
    },
    "value2": "fake project",
    "value1": "book",
    "companyName": "fake company",
    "eventType": "failure",
    "criticalFailures": [{
        "action": "get",
        "expression": "get http://www.example.com",
        "status": "Generic Failure",
        "failureType": "MissingPropertyException",
        "extra": "Error parsing URL. Missing variable yay"
    }],
    "companyId": 1,
    "failuresCount": 1,
    "location": "Ashburn,Virginia",
    "projectName": "fake project",
    "projectId": 1
}

Typical Use Cases

Zapier – webhook to email

Configure a Zap triggered by a WebHook: zapier_1
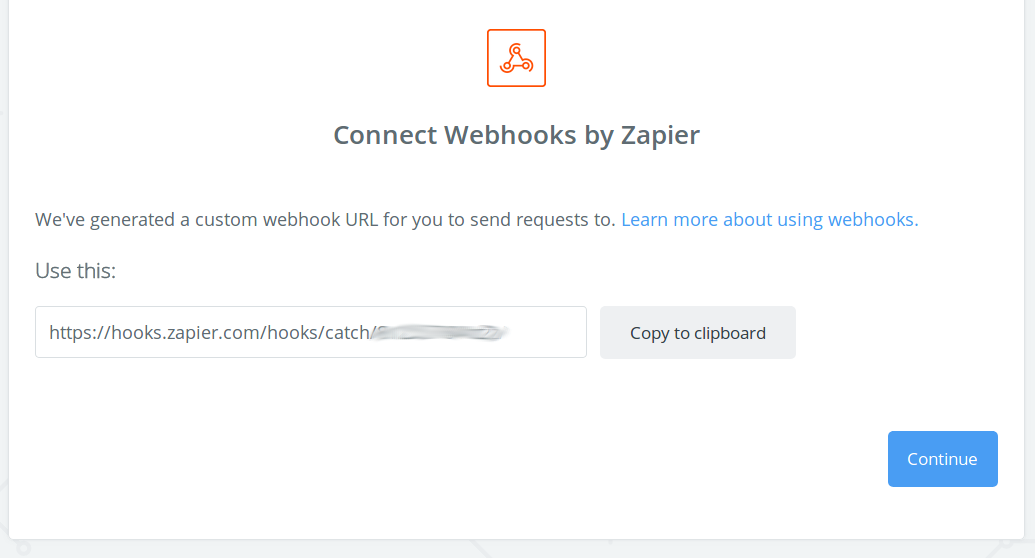
That URL is the one that needs to be used in the connector configuration screen. Add a “Send Email” step, and configure it to use the retrieved data: zapier_2
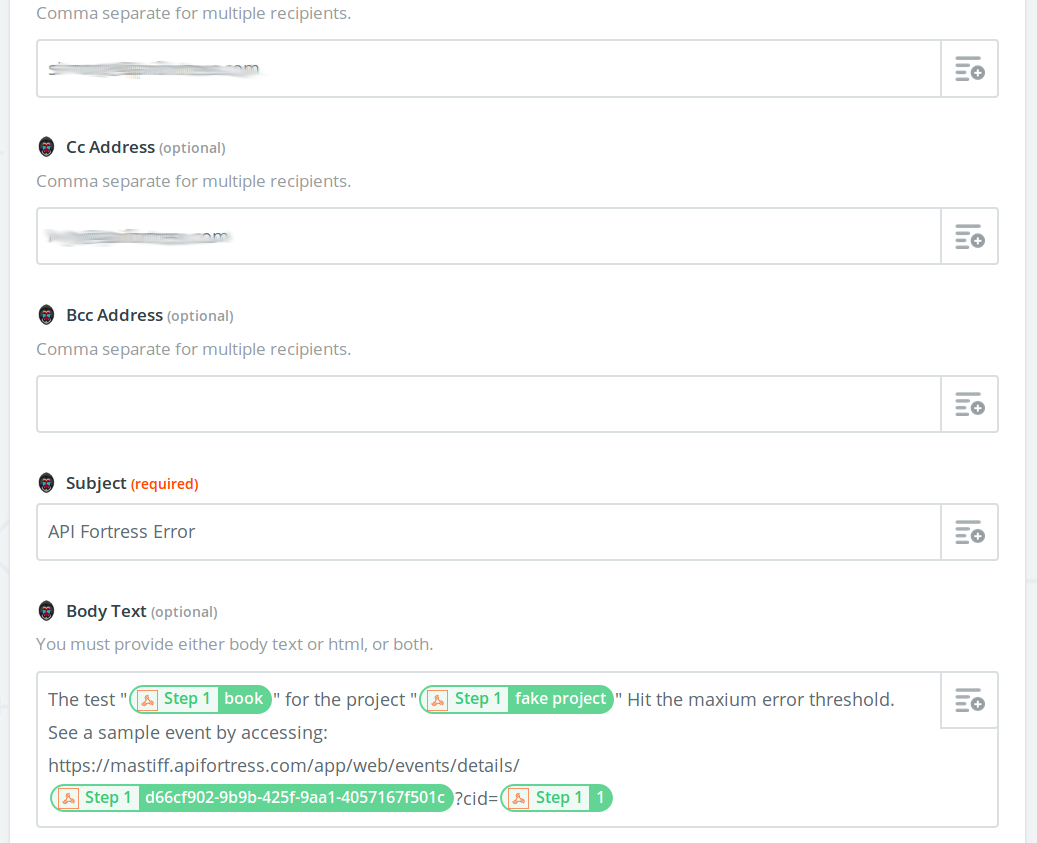
For this example, we used a template like this:
The test "{{30468424__test__name}}" for the project "{{30468424__projectName}}" Hit the maxium error threshold.
See a sample event by accessing:
https://mastiff.apifortress.com/app/web/events/details/{{30468424__eventId}}?cid={{30468424__companyId}}
Where 30468424 is the Zap ID.

IFTTT – webhook to email

ifttt_1
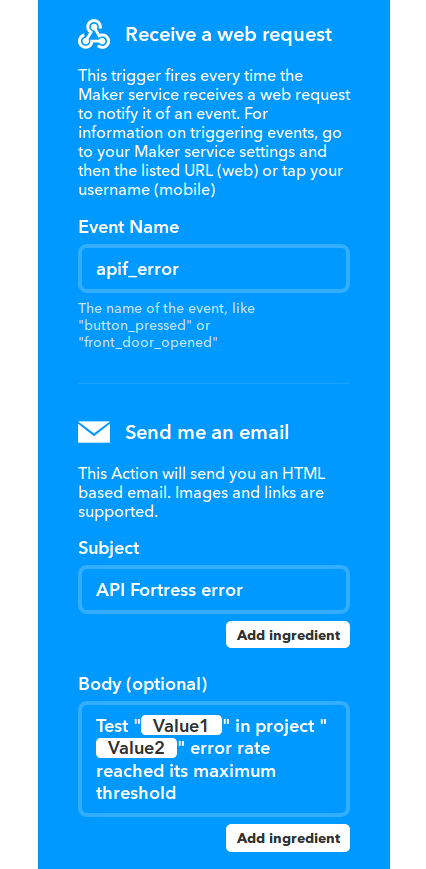
Create an Applet that gets triggered by a WebHook and configure it to send an email. This is pretty simple actually…  

Build from Mashery

You can now generate a draft an API test from the I/O Docs in your Mashery account! On the test interstitial page there is a “Build from Mashery” button. Click it, enter the Username, Password and Area ID from your Mashery account. Area ID can be found when you login to your Mashery account. In the top right under Customer name. Screen Shot 2017-04-06 at 7.00.07 AM Screen Shot 2017-04-06 at 7.00.16 AM Choose the I/O Doc you want to use, and then click the lightning bolt. You can also have API Fortress generate some assertions for you by using the ‘magic’ tool. From the composer, click the “import the request into the console” button from the top navigation. The HTTP console will open. From there insert the required values and make the call. Finally, click the Magic Wand icon (skip the global/input set generation step) and that’s it. An API test is created for you! From here you can add more intelligence to the test. Maybe make it an integration test with more calls, or add an IF statement. A lot of options are at your disposal. ezgif.com-video-to-gif

Build from Apiary

Introduction If you have the right level Apiary account (any paid account), you can generate a test from your Apiary docs. It’s as simple as a few clicks. Directions This GIF pretty much explains it, but from the test composer interstitial page, there is a Build from Apiary button. Click it, login to your Apiary account, and choose which Blueprint to create a test from. Simple, right? Don’t forget that this is a test draft. Add more logic to it for a really awesome test. Maybe add more calls to it as well to create a proper integration test. build-from-apiary

Connectors – BigPanda

**To learn how to import a connector click here**

We love making life easier for our customers. That often means helping them unify their tools. BigPanda is one of those great tools that can help with that process, so we made sure to create included them as one of our connectors! To see this doc on their site click here.


  1. Login to your BigPanda account, and click on the Integrations tab, and then on New Integration.step 1
  2. Click on Monitoring and then Alerts REST API. step 2
  3. Next enter a name and click on Generate App Key. step 3
  4. Finally, keep the App Key and Authorization code handy for later. step 4
  5. Login to API Fortress and click the gear icon. Then click on Alert Groups. This is where all the connectors are located. apif step 1
  6. Type in a label (name).
  7. Click on the Edit Connectors button, and then on +Connector to this Group. apif step 3
  8. Scroll down to BigPanda.io. apif step 4
  9. Remember that App Key and Authorization? Copy and paste them here! apif step 5
  10. Click the checkmarkand you are done! All alerts from scheduled events are now being sent to BigPanda.